
Support - Klōk Privacy Hub
Start Up & Troubleshooting
Get your Klōk Privacy Hub online in minutes, learn what each status icon means, and troubleshoot common issues.
FOR FIRMWARE 4.12.0 AND ABOVE
01 — QUICK START
Online in six steps.
Most hubs are connected and protecting your devices within a few minutes of their first power-up. Before you begin, check that the box contains the following:
01
Klōk Privacy Hub
02
USB-C charging cable
03
Reset pin
01
Charge it
Connect the USB-C cable and charge to at least 20%. We recommend a full charge before first use. Use a 20W charging block.

02
Turn it on
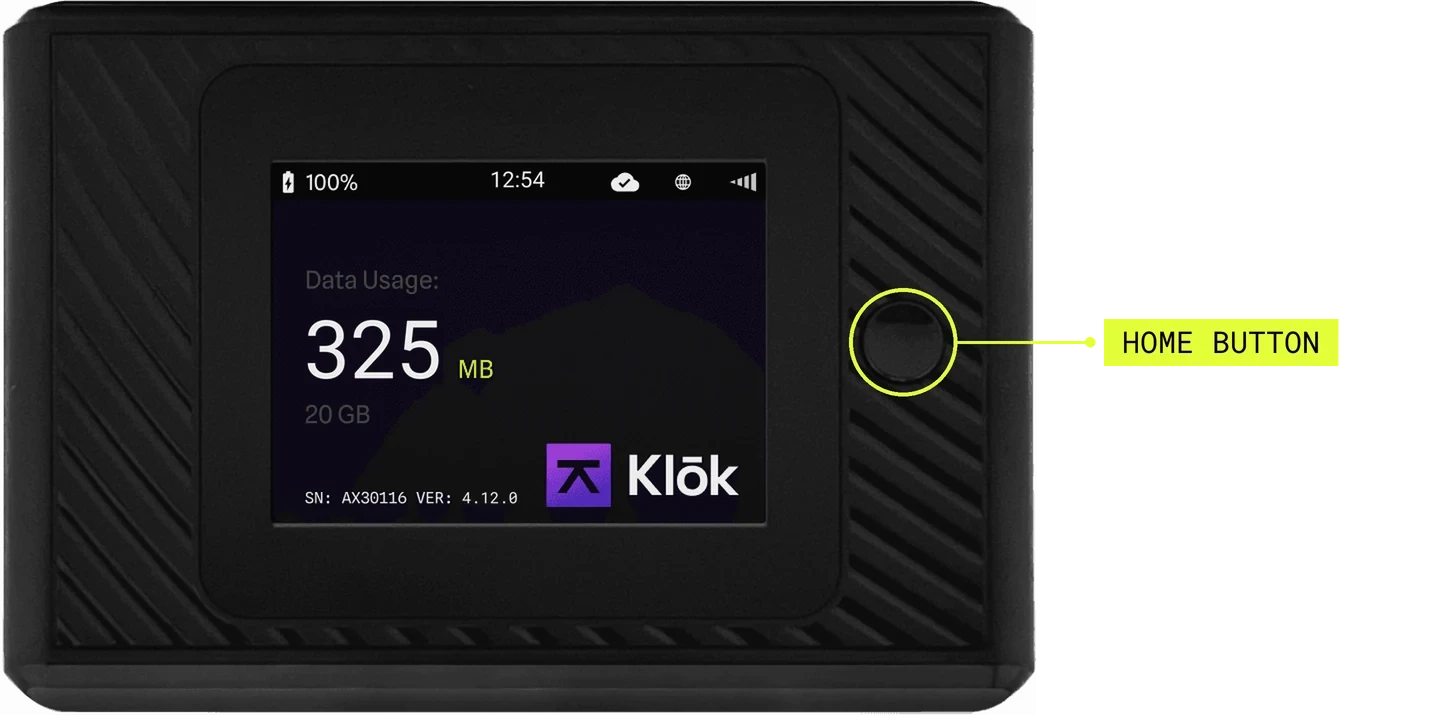
Double-click the Home button, the button beside the display. The Klōk logo appears while the hub boots.
03
Wait for the cloud
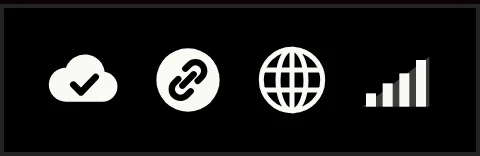
The cloud icon blinks while the hub searches for the Klōk cloud, which can take several minutes. A solid white cloud with a check means you’re connected.

04
Confirm service
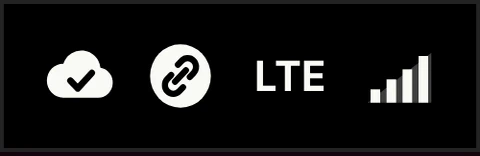
Next to the cloud, the SIM indicator blinks while it registers. It turns solid, and LTE appears, once service is live.
05
Connect your devices
Join the network name (SSID) shown on the Home screen with its password. Or press Home once to open the Wi-Fi QR screen and scan it with your camera.
06
Lock down your phone
For maximum privacy on connected phones, turn on airplane mode, turn on Wi-Fi calling, and turn off location services.
Up to 5 devices can connect to one hub. Bandwidth is shared evenly among the devices using data at the same time.
02 — KNOW YOUR HUB
One button does it all.
The Home button beside the display controls power and moves between screens. A pinhole button on the side is reserved for factory resets.
Power on
Double-click the Home button.
Power off
Press and hold for 3 seconds.
Wake screen
Short press.
Change screen
Short press again to move through the screens.
Hard reset
Hold for about 20 seconds. See Troubleshooting.

BOOT SCREEN
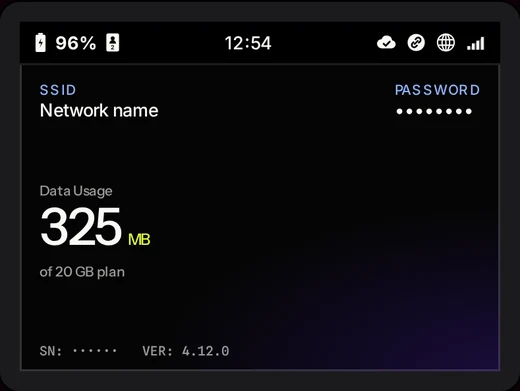

HOME SCREEN
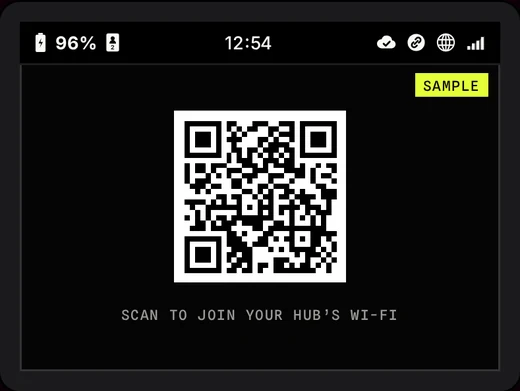
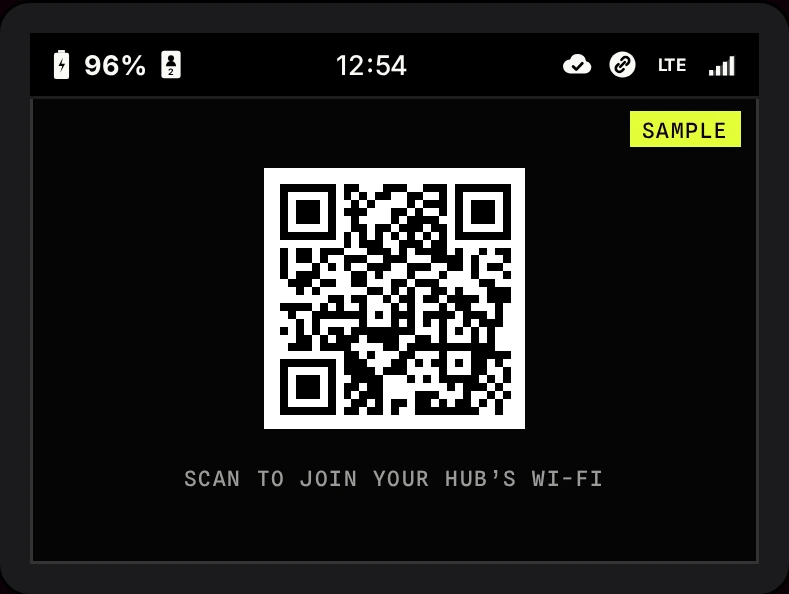
WI-FI QR SCREEN · SAMPLE, YOUR HUB SHOWS ITS OWN CODE

SHUT DOWN SCREEN
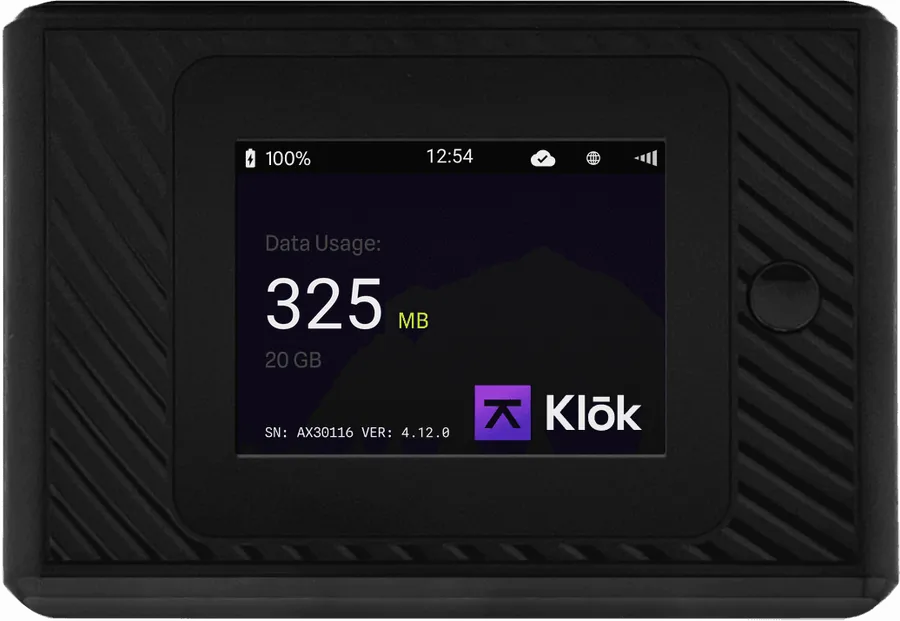
The Home screen shows your Wi-Fi network name (SSID) and password, your data usage against your plan, and the hub’s serial number and firmware version.
The information bar
This strip runs across the top of every screen. Here’s what each part shows.
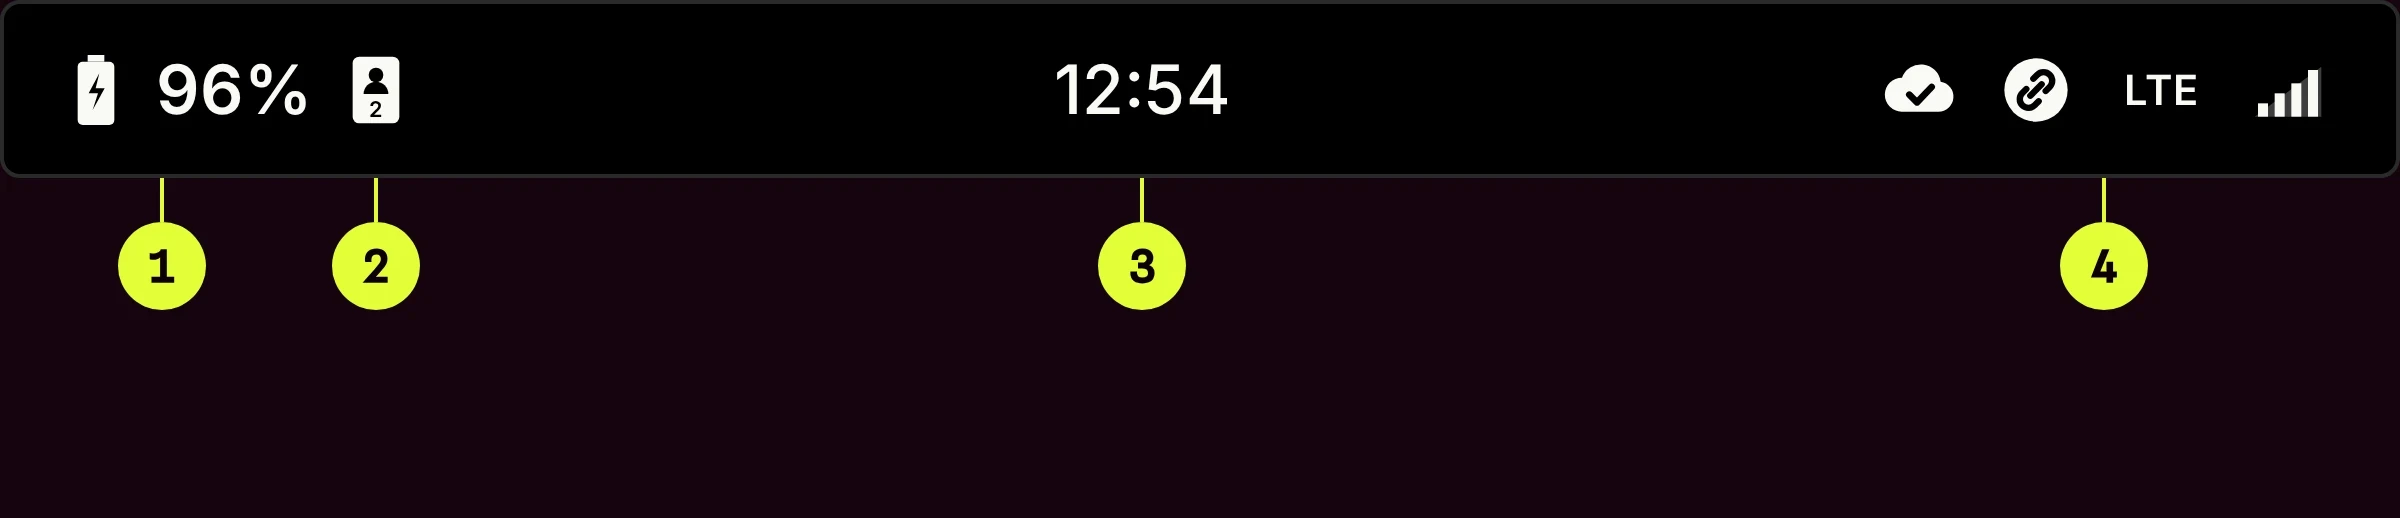
1
Battery
Charge level. A bolt means it’s charging.
2
Connected devices
How many devices are on the hub’s Wi-Fi.
3
Local time
Set automatically once the hub is connected.
4
Connectivity
Cloud, SIM, LTE and signal. See Status icons.
03 — STATUS ICONS
Read the information bar.
The icons at the top right of the display show each stage of the connection, from the cloud down to the mobile network.

Empty cloud
The hub is not connected to the Klōk cloud.
Blinking cloud
The hub is searching for the cloud. This can take several minutes.
Solid cloud with check
Connected to the Klōk cloud.
Struck-through cloud
Connected to the cloud, but service is not authorized.
SIM indicator
Blinking: registering the SIM. Solid: SIM registered to the mobile network.


LTE indicator
Mobile service is available. The network type varies with local coverage.
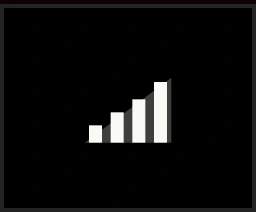
Signal quality
Signal strength, like the bars on a phone.

HSIM mode
Alternate configuration for local-SIM use cases.
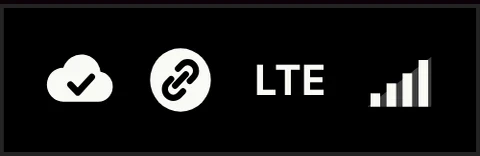
All four icons showing and solid means the hub is fully connected and protected.
04 — TROUBLESHOOTING
Back online, fast.
Start with what the display is telling you. A hard reset resolves most issues.
Connection indicators
The hub won’t turn on
The hub won’t charge
Slow or no service
Stuck on the boot screen
Keeps rebooting
Resetting your hub
There are two types of reset. Try a hard reset first.
TRY THIS FIRST
Hard reset
Clears the cache and reboots the hub.
1. Press and hold the Home button for about 20 seconds, until the screen flashes and the hub reboots.
2. Release the button when the boot screen appears.
A hard reset resolves most issues.
ONLY WHEN SUPPORT DIRECTS YOU TO
Factory reset
Restores the hub to its original settings.
1. Using the reset pin, press the pinhole button and the Home button at the same time for about 7 seconds.
2. Release the Home button first.
3. The hub factory resets. Then release the pinhole button.
Please contact support before performing a factory reset.
SIDE VIEW
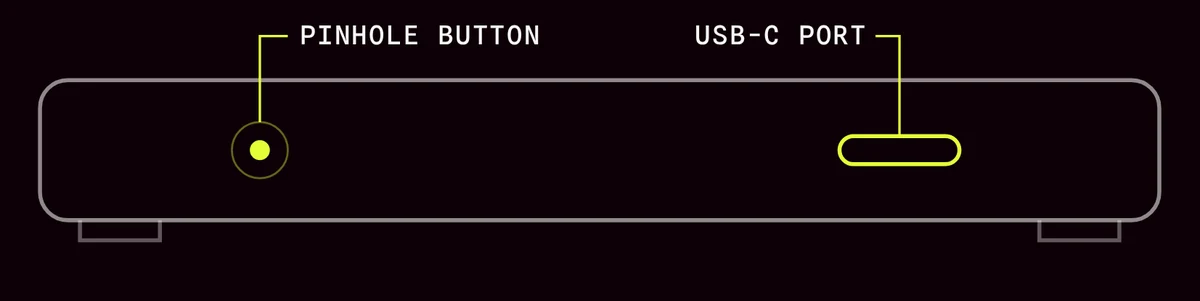
Pinhole button (factory reset) and USB-C charge and data port. Illustration, not to scale.
Never poke the vent holes
Don’t insert the reset pin or any sharp object into the vent holes under the hub. Damage to the lithium battery may cause a fire.
Charging & battery
Charge through the USB-C port on the side of the hub.
20W
Use a 20W USB-C charging block. Lower-wattage blocks may not charge the hub.
20%
The minimum charge before first use. A full charge is recommended.
15%
A low-battery warning appears on screen below this level.
1 hr+
Charging time needed before a fully drained hub will turn on.
Avoid leaving the hub on the charger long after it’s full. Overcharging may reduce battery life.